This is quick guide of how I do my layering to those who’ve never opened Premiere. There’s no great mystery technique here that you couldn’t discover elsewhere or anything too technical. If you’re an old hand at these methods and want to discuss it in more detail, drop me an email.
In my films the general software I use is Adobe Premiere Pro. This is my favourite due to the easy to use layering. In the timeline it’s a simple matter of putting each image on top of the next.
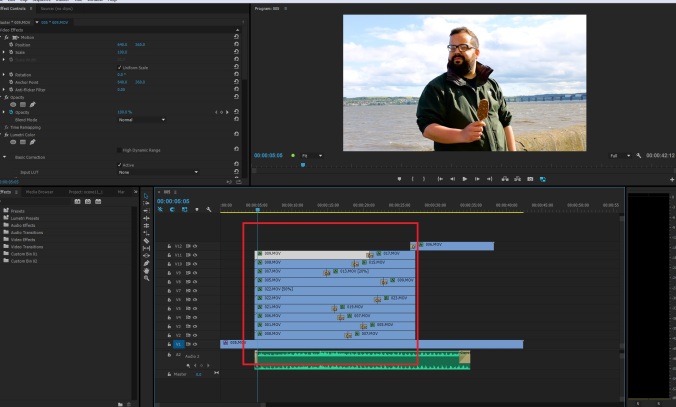
This leaves you with an opaque image on top of another opaque image. If you simply want to create a double exposure, then you turn down the opacity and hey presto.
For the more specific layering you can change the size of each image. Change the top layer to 90% and you have a frame within a frame.

Move it to the side and shrink it to 40% and then you can make images like this.

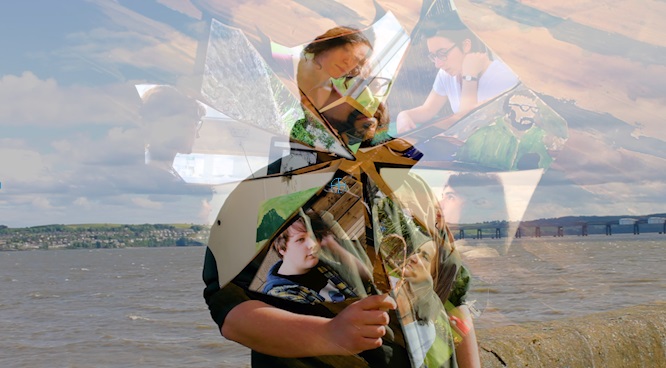
For a complex shape you can add an opacity mask. This makes only the area within the mask visible, the rest is 100% transparent.

With enough time, manipulating the rotation, position, scale and the corners of the mask, the image can then be manipulated to fit any shape.

And that’s it. All my layering is achieved through these simple techniques. For the kind of films I make there are often large amounts of layers and masks, with colour correction and visual effects on each. Also I often move the masks frame by frame to match the image they are layered upon. It’s painstaking and time-consuming, but the basics are easy to grasp. This basis is helpful to explain other most complex aspects in more detail, and hopefully interesting for those of you not versed in editing software.
